Why Is My Handmade Paper Thicker on One Side (Thin Spots and Holes)?
Quick answer
Stir the vat, wait a few seconds for the swirl to die down, and level the mould the moment it clears the water. A sheet that is thick on one side usually came from a tilted mould. If the thin area lands in the same place every time, inspect the screen for sag instead.
Is this your problem?
Symptom: Sheet is thicker on one side, or it has thin spots and holes
Hold the sheet up to a window or a lamp. A good sheet shows an even texture of light and fibre. This problem looks different: one side is denser than the other, or there are pale patches, or there are small bare holes.
Three patterns are worth separating.
- A wedge. Thick on one side, thin on the other. This usually comes from the level of the mould.
- A patch. A thin or thick area in the same place on every sheet. Suspect the screen.
- A hole. A spot with no fibre at all. Check the screen and the water coming off the mould.
Look-alikes matter here. Cloudy, clumpy areas are a formation problem. Small craters that appear after the lift are often drips rather than thin spots.
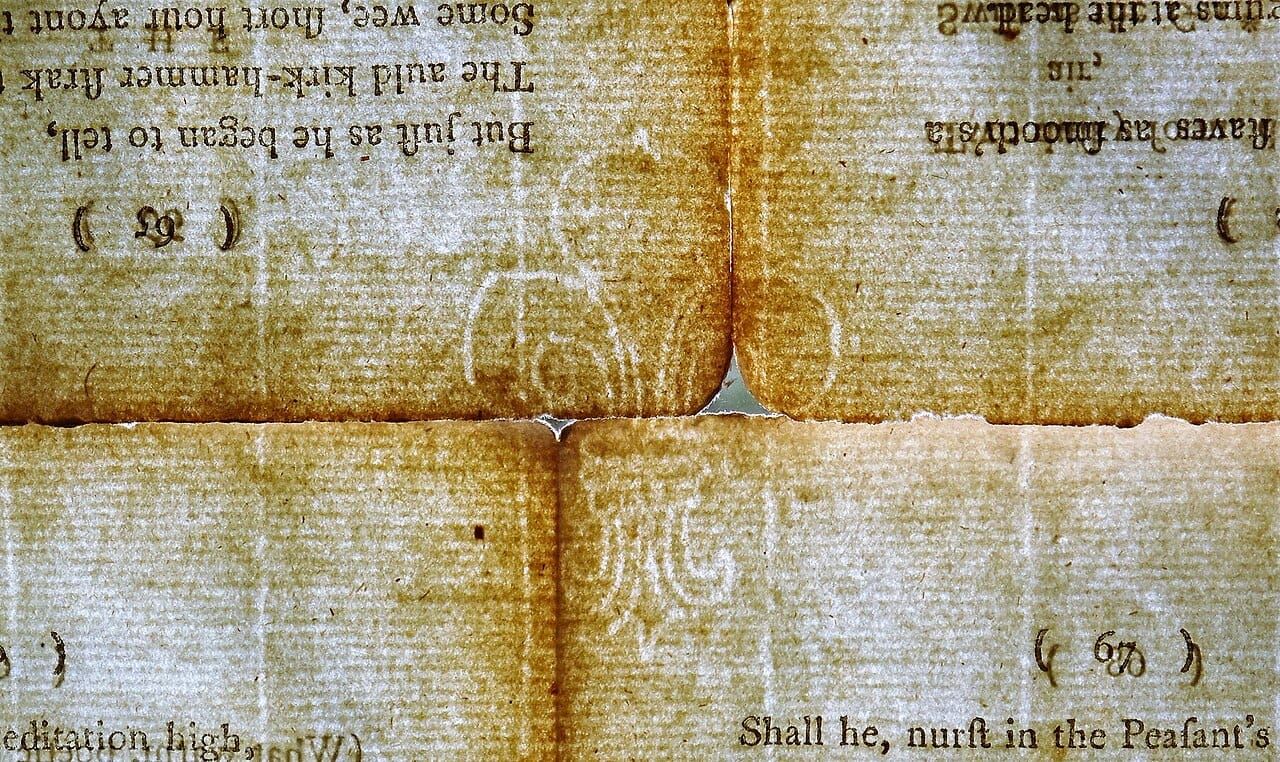

Similar symptoms
Ranked causes
| Cause | Tell-tale sign | Quick check | Fix |
|---|---|---|---|
| Mould not level as the sheet forms | A wedge shape, thick on one side and thin on the other, and the thick side changes from sheet to sheet | Set a small level on the mould or rest it on the vat edge for the next pull | Level the mould right as it leaves the vat and hold it level while it drains |
| Pulp has settled in the vat | Patchy sheets that vary from pull to pull | Stir thoroughly before the next pull and compare | Stir before every sheet, then wait for the eddies to settle |
| Sagging or uneven screen | The thick or thin area is in the same spot on every sheet | Lay a straightedge across the empty screen and look for a gap | Tighten or support the screen |
| Vat too thin for the sheet you want | Sheets get thinner through the session | Compare the current sheet with the first sheet of the session | Add fresh pulp every few sheets |
Diagnose in order
Change one thing per pull, and compare each sheet with the one before it. Hold each to the same light.
- Stir and wait. Stir the vat thoroughly and wait a few seconds for the eddies to die down. Pull a sheet. If it improves, the pulp had settled.
- Level the mould. Pull another with a deliberate pause at level, or rest it on the edge of the vat as it drains. If the wedge goes away, the mould was tilting.
- Mark the thin spot. Note where it falls on three sheets. If it does not move, take the deckle off and inspect the screen.
- Lay a straightedge across the empty screen. A gap in the middle means a sag. See the sagging screen guide.
- Compare first and last sheets. If the difference grows through the session, the vat needs more pulp.
- Try a thicker vat. Add pulp and see if small holes disappear. If they stay in the same place, the holes are in the screen or under it.
Fixes, step by step
Level as soon as the mould clears the water
Ted Snider's instruction is to level the mould immediately after lifting so the pulp stays inside the deckle. Then rest the mould on the front edge of the vat and a back board while the sheet sets, which keeps the level and lets water drain back in.
If you have no back board, a small level set on the mould for a few pulls shows whether you are holding it level.
Stir before every pull
Pulp settles. Catherine Nash notes that it tends to settle to the bottom and needs to be suspended just before sheet forming, and May Babcock's instructions also start with a stir. Snider adds a detail that beginners skip: stir just before forming, then wait a few seconds until the eddies have died down.
Dip and scoop the same way each time
Hold the mould and deckle together. Babcock dips them at a 45 degree angle to the bottom of the vat and scoops up, holding them horizontally. Snider scoops the mould forward while raising it, and levels it at once so the deckle holds the pulp in. Papertrail notes that a screen held tight to the deckle keeps pulp from running between the deckle and the screen.
Shake while the water is still shiny
Use short, jerky movements, side to side and front to back. Stop when the free water has gone. Snider notes that after that point, more shaking can no longer improve the sheet.
Correct the screen
If the thin or thick area stays in the same place, re-tighten or support the screen. Mary Tasillo notes that larger moulds need extra support behind the screening, and suggests plastic egg crate cut to size and glued directly beneath it. Papertrail's ribbed moulds use ribs about two inches apart to support the screen and keep it tight to the deckle.
Keep the vat charged
Snider puts a typical vat at 0.5 to 1.0% solids, and every sheet removes fibre. Top up with fresh pulp every three or four sheets, depending on vat size.
Check for holes in the screen itself by holding the bare mould up to the light. Repair any tear before you make another sheet.
Prevent it next batch
- Stir and pause before every sheet.
- Set up the vat so the mould can rest at level while it drains.
- Add pulp on a schedule, and note it on your batch log.
- Check the screen at the start of the session.
- Pull at the same speed and the same depth each time.
When it's not fixable
A sheet with a thin wedge or a bad patch can be dropped back into the vat before you couch it. Take the deckle off, turn the mould over, and slap it flat onto the surface of the vat. Stir and pull again. It costs almost nothing.
Once a thin area has been pressed and dried, it stays thin. A thin spot cannot be added to afterward. If the sheet is important, re-pulp it.
A screen that is torn or a frame that has twisted out of true will keep producing the same defect. Rebuild the mould or replace it. Tightening cannot fix a warped frame.
FAQ
Why is one side of the sheet thicker than the other?
Water and pulp slide to the low side while the sheet sets. A mould that tips even slightly will collect more fibre on one side. Level it immediately when it leaves the vat. If the thick side stays in the same place even with a level mould, check the screen for a sag or a warped frame.
What is the difference between a hole and a thin spot?
A thin spot still has fibre across it. It looks lighter when you hold the sheet to a window. A hole has no fibre at all, so light comes straight through. If a hole repeats in the same place, hold the bare mould to the light and look for a tear in the screen there.
Will the papermaker's shake fix thin spots?
Only partly. The shake breaks up clumps and evens out the sheet, but it works only while the surface still has shiny free water on it. It cannot correct a mould held out of level or a screen that sags. Pull a new sheet if it is badly uneven.
Why do later sheets in the same batch get thinner?
Every sheet you pull takes fibre out of the vat. The water stays behind and the slurry gets more dilute, so each sheet is lighter than the one before. Ted Snider suggests adding fresh pulp every three or four sheets, depending on the size of the vat.
Related problems
Next stage: Why Is My Handmade Paper Sticking to the Mould?
Sources and further reading
- Sheet Formation and Uniformity, by Ted Snider (Hand Papermaking Newsletter #53)
- Here's How to Make Handmade Paper from Recycled Materials, by May Babcock (Paperslurry)
- Constructing a Basic Mould and Deckle, by Mary Tasillo (Hand Papermaking Newsletter #84)
- Ribbed Polyethylene Moulds (Papertrail)
- Getting Started: The Simplest Way to Make Your First Sheet of Handmade Paper, by Catherine Nash